



 I promised 1st graders that they could free paint the last day of class (they unanimously agreed this was what they wanted to do!) The more I thought about this, however, the more I didn't want them to have at the supplies with abandon as this often leads to lots of paper in the trash... Instead I had them write their first initial on a large sheet of paper as a bubble letter using oil pastels. They added minimal designs inside their letters with a reminder that white oil pastels could be used also, as it would show up when they paint over it. Then they were allowed to paint their letters however they liked. This worked so much better and their was no waste at the end. Most kids love anything having to do with their names, so this was a perfect one day lesson!


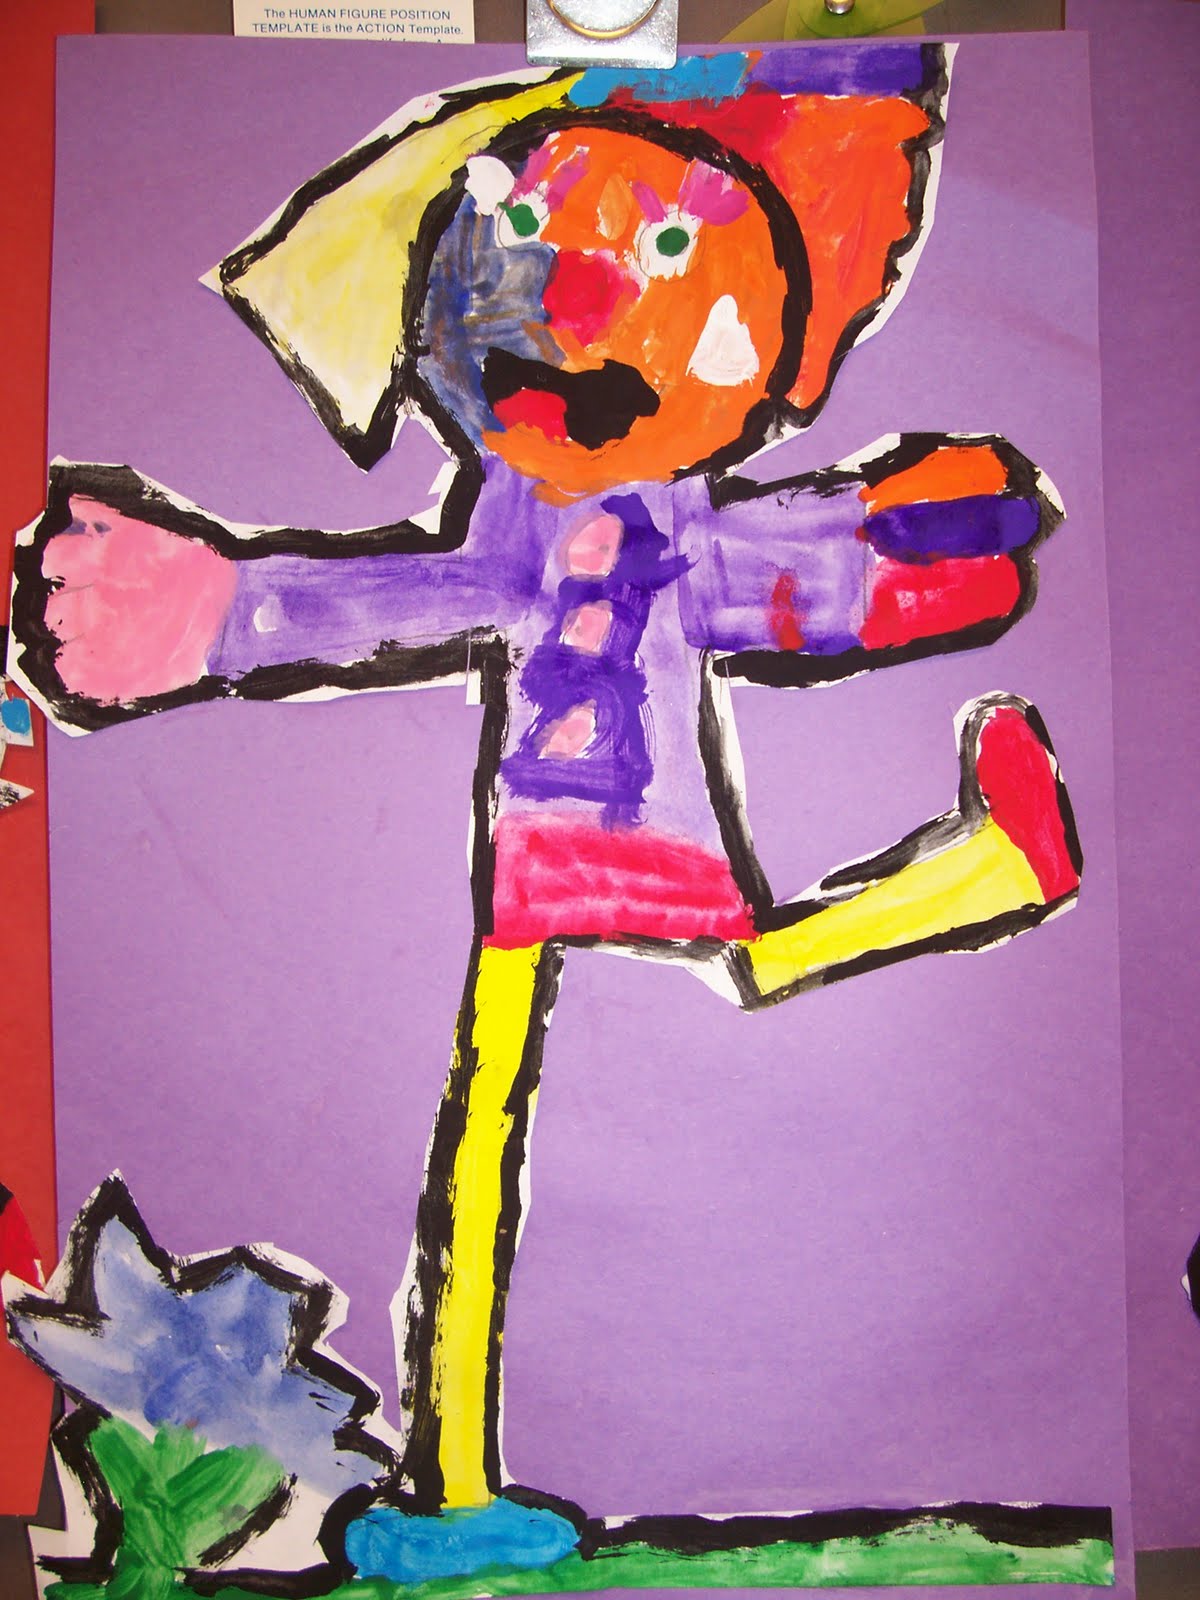
 This lesson was borrowed from deepspacesparkle, another wonderful art teacher blog. First graders learned a little about clowns and clowning around... (so did I!)


 I found this cute lesson on artsonia and decided to try it as a last day for kinder art lesson. I think the lesson is pretty self explanatory, but I will say that you should caution students against adding too many birds (which are simply their thumbprints) because of course they will have to add the details to all of the birds they create! This was the most challenging part for the kinders, but they still turned out pretty cute!


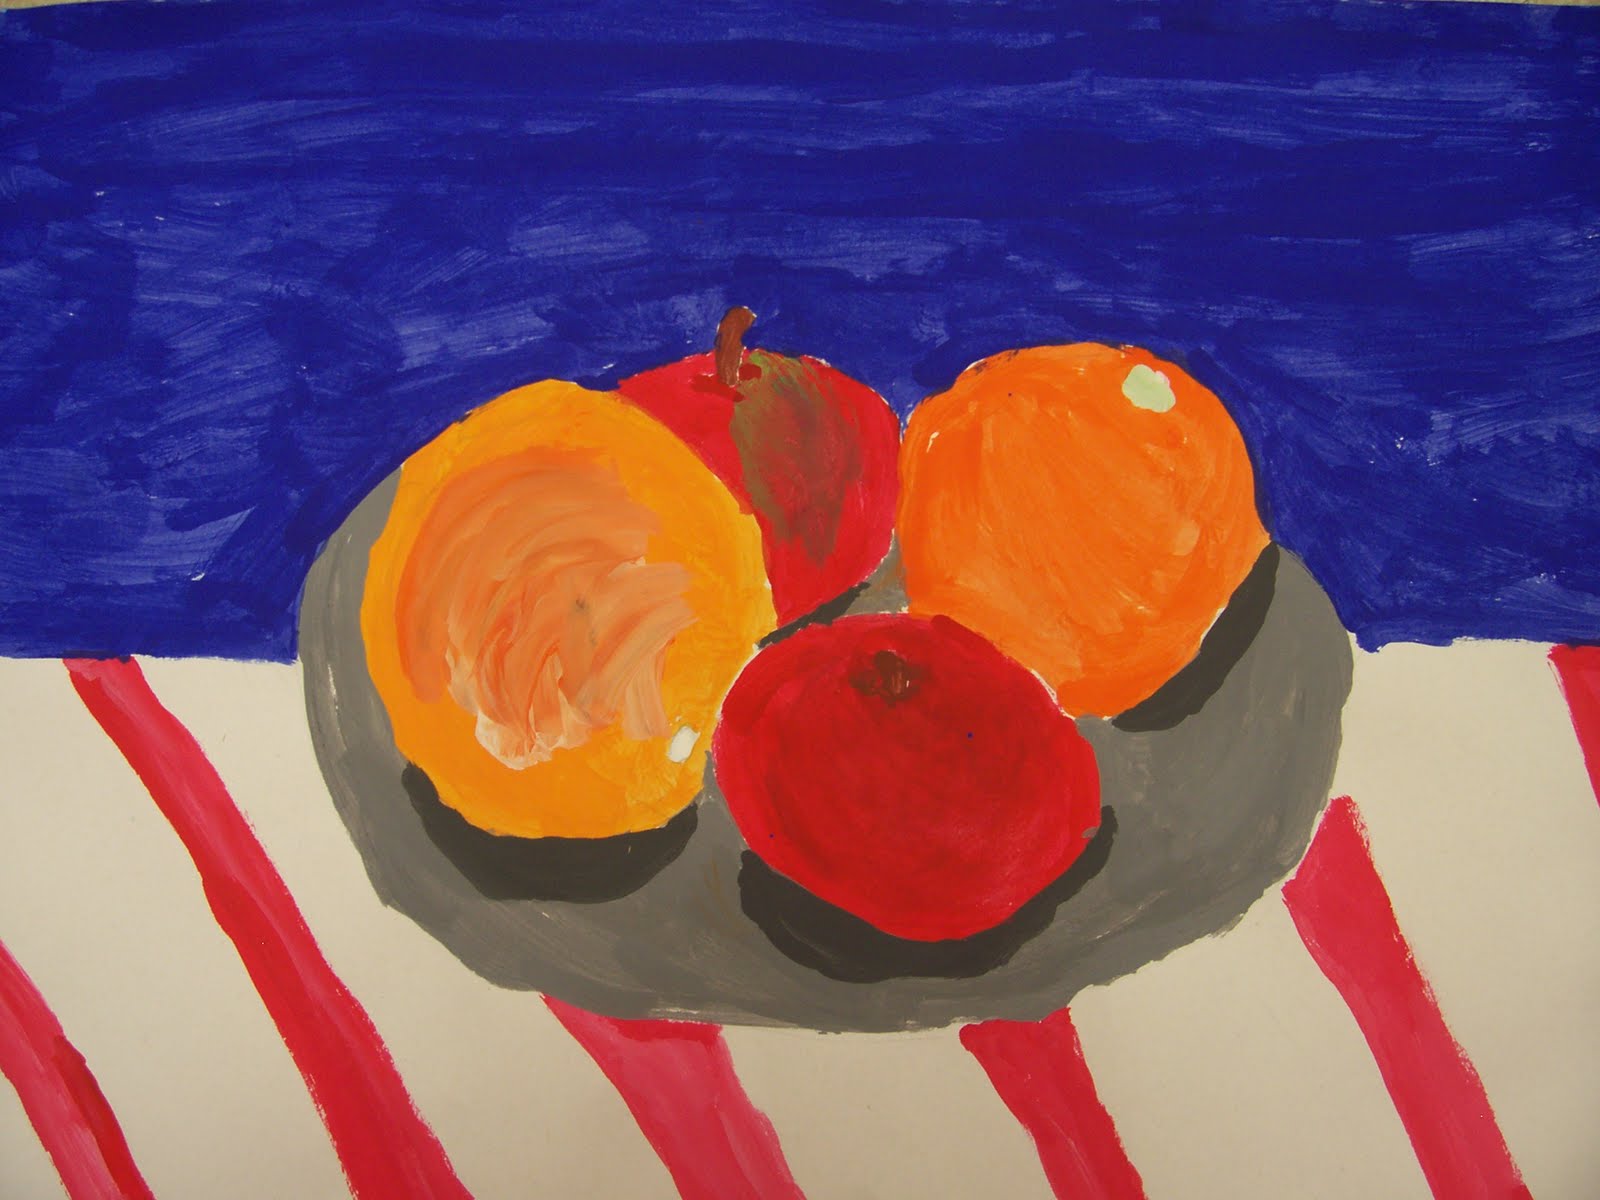

 It took approximately 4 - 45 minute classes for the students to finish their still lifes, so you have to make sure you have a nice cold spot to store your fruit in the interim. Of course they were using their skills learned in the previous lesson about form and outerspace. But I found that this lesson really showed the students how important careful observation is when trying to depict an object realistically. We talked a lot about seeing what is really there, and not what you think is there. I had to remind students that they needed to keep looking at their still lifes and observe that an apple is not just red, but could have green, yellow, brown, and even purple in it.


 If you want a nice, calm engaging end of the year project for 2nd (and probably 3rd, 4th or 5th) graders, look no further! I found some pieces of burlap in storage and decided to teach some basic sewing/weaving skills to the students. After discussing basic terminology such as loom, warp, weft, needle, eye of the needle and running stitch I demonstrated how to create a basic running stitch in a 6x9 inch piece of burlap. After the students got the hang of this, they were allowed to add beads, and/or sew their initials or other shapes into their weavings.


